The Installation Process of Fake Grass
When it comes to installing fake grass (a.k.a. synthetic grass) for residential projects in the Azusa area, we have an extensive process that we follow to complete the project and surpass the client’s standard. We never cut corners and always ensure the installation is done to the best of our ability every single time. After we have locked in the residential artificial turf installation details and have signed an agreement, the Duran Lawn Creations install team comes out to your home to get started!
STEP ONE: PRE-INSTALL
Depending on the size of the project, our install team can range from 3-10 crew members for the duration of the process. The pre-installation step consists of excavating the current landscape of dirt, grass, weed, gravel, or whatever material was previously there. We rough grade the area to uncover the electric wiring, irrigation, and everything else underneath. The rough grade allows us to get a solid sub base for the installation later, and even out the area.
If there are any sprinklers or irrigation systems, we’ll have to modify the system to prevent water damages or leaks. In some cases, all we need to do is cap the sprinklers. Other times, we’ll need to relocate or remove the system.
STEP TWO: PREP THE BASE
This part of the process is all about building a strong foundation for the synthetic grass installation. We distribute and level out the sub-base, which is a unique mixture of gravel, sand, and dirt. In order to properly pack in the base and ensure the area is stable and robust enough to endure the heaviest of elements, we will water the base mixture and use tools and machines to press it down as much as possible.
After the sub-base mixture is thoroughly compacted in, we will install the drain core/drainage system and/or weed suppressor, as agreed upon before signing the contract. Many of our residential fake grass installations in the Azusa area will not require AirDrain or Drain Core; we typically only recommend these drainage accessories if the residential installation was done over concrete without the sub-base mixture.
STEP THREE: INSTALL SYNTHETIC GRASS
At this point, we will roll out your chosen artificial turf product and trim it down to the installation area. Once the products are laid out in place, we will begin our synthetic grass seaming process. This part is crucial in making the artificial turf installation look realistic and cohesive. All of our crew members go through extensive training and are able to perfect the seaming process before working on a client’s residential turf install project.
After we’ve seamed the turf, we begin edging the lawn and securing the synthetic turf’s edges down using special nails and tools. We’ll then tuck in the artificial grass edges to make it look clean and plush. Our Duran Lawn crew is here to make your artificial lawn look perfect from edge to edge.
STEP FOUR: APPLY FILLER
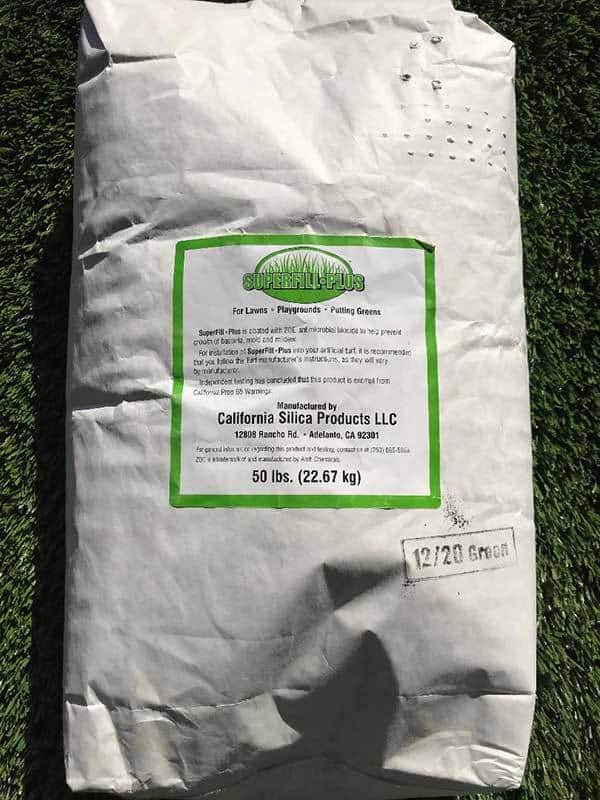
Once the synthetic grass is installed and secure, we will use a power brush to make sure the grass blades are standing up. We will then apply your chosen filler. Whether the filler is sand or another infill choice, it will help the grass blades stand tall and give the fake grass more weight to endure foot traffic.
STEP FIVE: FINAL GROOMING
The final phase of the residential fake grass or synthetic turf installation is to give the synthetic lawn a final groom and cleaning. Power brushing the artificial turf again allows for the infill to settle in between the grass blades. We also will clean up the yard and discard of the extra turf. We always make sure we leave our installation areas cleaner than when we started.
With over ten years of experience under our belt, you can be sure your installation process will be a breeze. Our goal is to ensure that our customers can enjoy their new synthetic turf installation for years to come. Duran Lawn Creations proudly does artificial grass installations in Azusa and the San Dimas area. Give us a call today for a free estimate for your residential synthetic grass install at (888) 862-8470.


